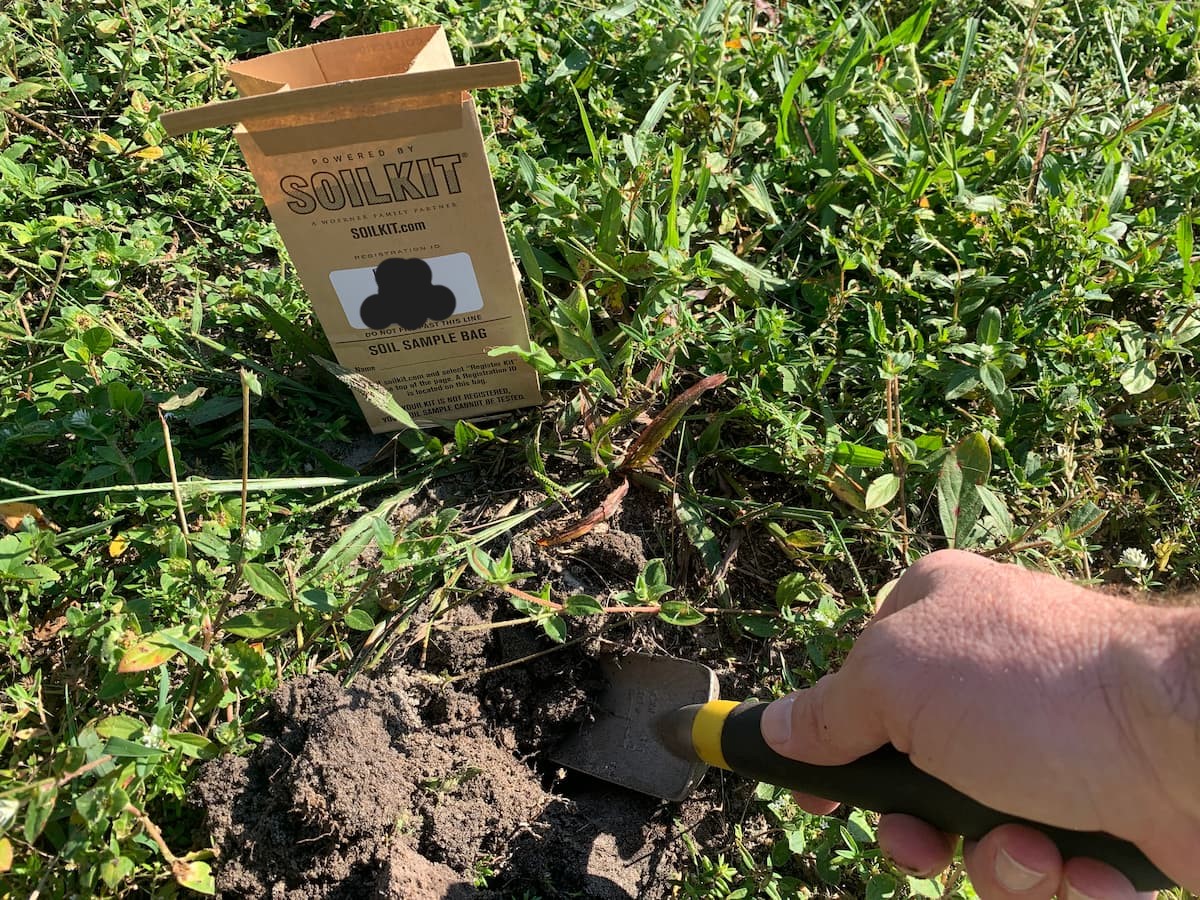
My wife and I decided to try out one of the mail-in soil test kits we’ve seen advertised online. We really weren’t sure what the soil chemistry in our yard was like anyway and decided it was high time to get a fix on this. But we didn’t know if doing a DIY soil test was worth the money or would even be accurate.
So, we decided to do some sleuthing! We didn’t know if those DIY soil tests at the garden center were really any good. We were also leery about choosing just any mail-in soil test kits. I’ve heard those aren’t always accurate either.
That’s when we turned to the University of Florida Institute of Food and Agricultural Sciences (UF/IFAS). They have extension offices in every county in Florida. They provide soil testing services for those who can deliver soil samples to their local extension office. The only problem for my wife and me? The nearest UF/IFAS offices aren’t exactly all that close to where we live.
Thankfully, UF/IFAS also has a partnership with AgriTech Corporation, which sells mail-in soil test kits. I figured if they are branded by UF/IFAS they must at least be up to snuff to provide some decent soil test results. So, we placed an order for a soil test kit, which cost $32.95. We received our DIY soil testing kit by mail just a few days later.
Now before you read any further, please know my review of the AgriTech soil test kit is totally independent and uncompensated. I just felt compelled to share my experience in using one of their mail-in soil test kits with you!
How We Used Our Mail-In Soil Test Kit
Our mail-in soil test kit had everything we needed, including a postage-paid return envelope! All we needed to have on hand was a stainless-steel garden spade to collect the soil samples and, oh yeah — soil!
The AgriTech soil test kit we ordered is ideal for a yard of 10,000 square feet or less. Our yard is about 10,400 square feet, so we were borderline OK with ordering just one test kit. If our yard was much bigger, we’d have probably been best buying two test kits (or even more, depending on the size of the yard). But for a typical suburban yard of about a quarter acre or less, like ours, one of these AgriTech soil test kits is sufficient.
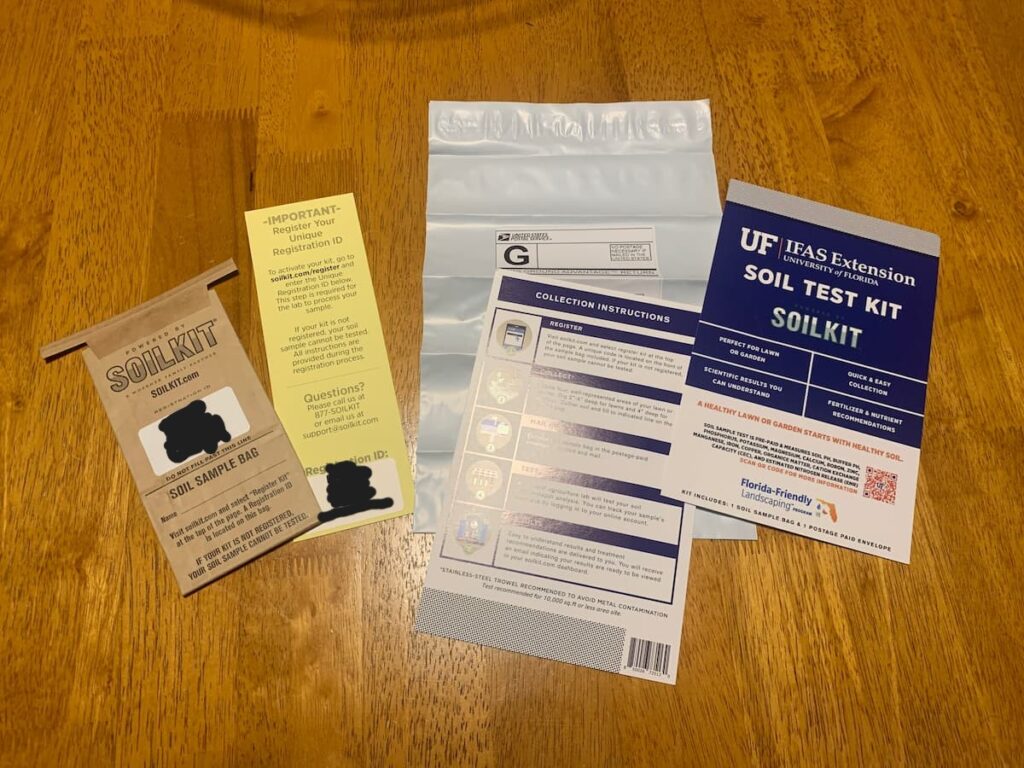
The AgriTech mail-in soil test kit included:
- Soil sample bag
- Postage-paid return envelope
- Registration card
- Step-by-step instructions
- Cover label
What Does AgriTech Soil Test Kit Measure?
We were pretty impressed with the array of soil data this mail-in test kit from AgriTech provides. Here’s a rundown on the kind of data you’ll receive:
- Soil pH
- Buffer pH
- Phosphorus
- Potassium
- Magnesium
- Calcium
- Boron
- Zinc
- Manganese
- Iron
- Copper
- Organice matter
- Cation exchange capacity (CEC)
- Estimated nitrogen release (ENR)
How We Collected Our Soil Test Kit Sample
AgriTech mail-in soil test kits are really easy to use. We registered in only a few minutes, and it was simple to take the soil samples and send them off to the lab.
Here are the exact instructions from AgriTech mail-in soil test kits below:
Step #1 – Register The Mail-In Soil Test Kit
Visit soilkit.com and select register kit at the top of the page. A unique code is located on the front of the sample bag included. If your kit is not registered, your soil sample cannot be tested.
Note from Hortiwriter: Absolutely make sure you register before you send your mail-in soil test kits back to AgriTech! Not only will you not be able to get your soil tested. You’ll also miss out on the all-important soil test information you’re going to receive after you submit your soil sample!
Step #2 – Collect The Soil Sample
Locate four, well-represented areas of your lawn or garden. Dig 2″ to 4″ deep for lawns and 4″ deep for gardens. Gather soil and fill to indicated line on the sample bag.
Note from Hortiwriter: We divided up our yard into four quadrants and took samples from each quadrant, with two coming from lawn areas and two coming from garden areas.
Step #3 – Mail In Your Soil Test Kit Sample
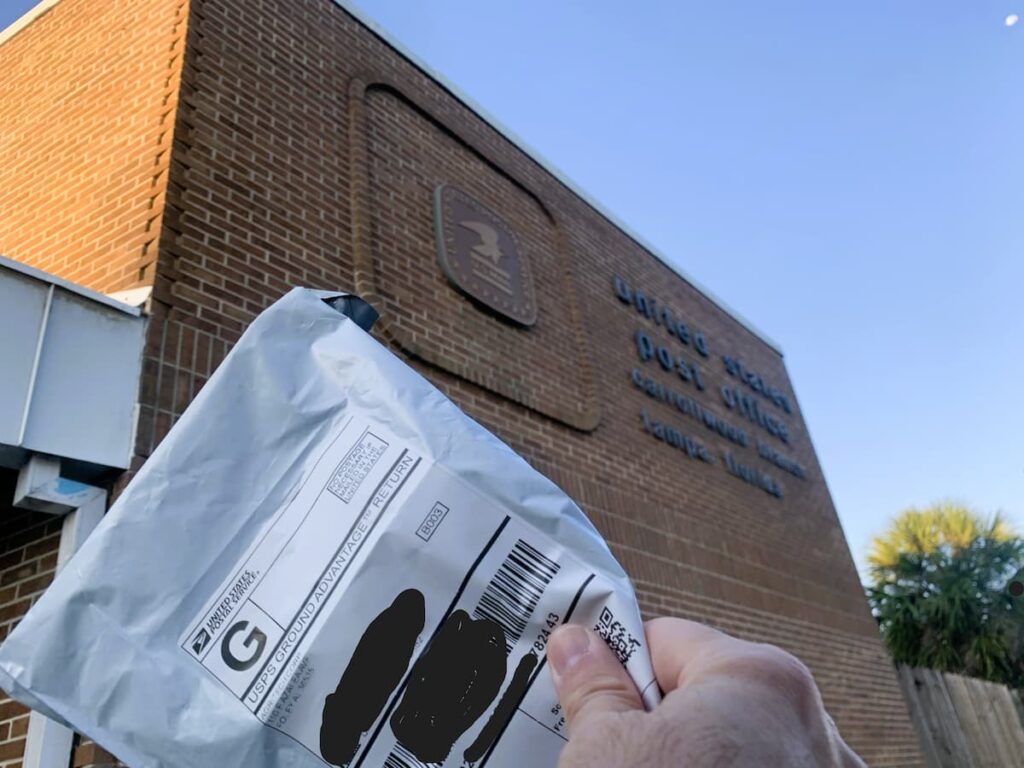
Enclose soil sample bag in the postage-paid envelope provided and mail.
Note from Hortiwriter: While you could probably just drop off the sealed, postage-paid envelope at the package drop off box at your local post office, I walked mine up to a post office associate. Why? Because the envelope containing the soil sample was soft and bulky. I therefore worried it would get punctured or damaged if I deposited it into a package drop box. I was pretty confident if I stood in line and dropped the package off with a post office associate and told them it contained a soil sample, it would receive more diligent handling.
Step #4 – Test Your Soil
A national agriculture lab will test your soil with in-depth analysis. You can track your sample’s progress by logging in to your online account.
Note from Hortiwriter: This is the part where you’ll wait for a bit — but not necessarily all that long. My wife and I received our soil sample test results in about a week.
Step #5 — Get Your Results
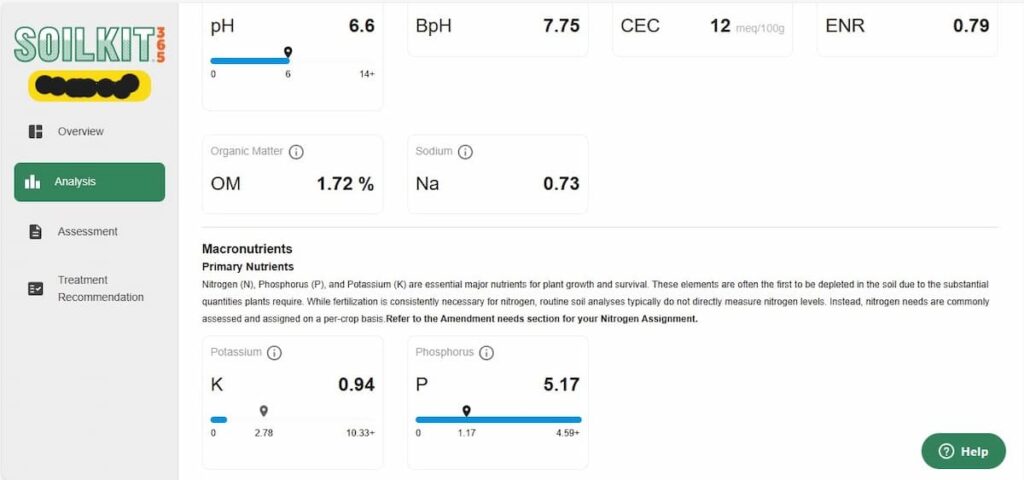
Easy-to-understand results and treatment recommendations are delivered to you. You will receive an email indicating your results are ready to be viewed in your soilkit.com dashboard.
Note from Hortiwriter: Make sure the soilkit email address is saved in your email address book after your register so you’ll be sure the soil sample results email won’t get snagged in your spam filter.
Here’s Why We’d Use Mail-In Soil Test Kits Again
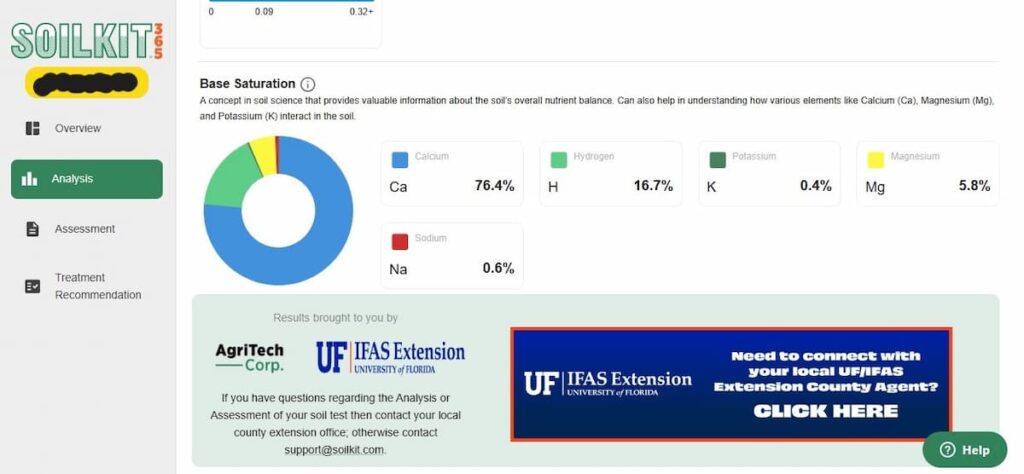
My wife and I were impressed with how easy it was to order the AgriTech soil test kit, submit the soil sample, and receive our results. Was it one of the cheapest soil test kits out there? No. Nor have I compared the results from our soil test to results from other soil laboratories. But we feel happy with what we received, and the test results are comprehensive.
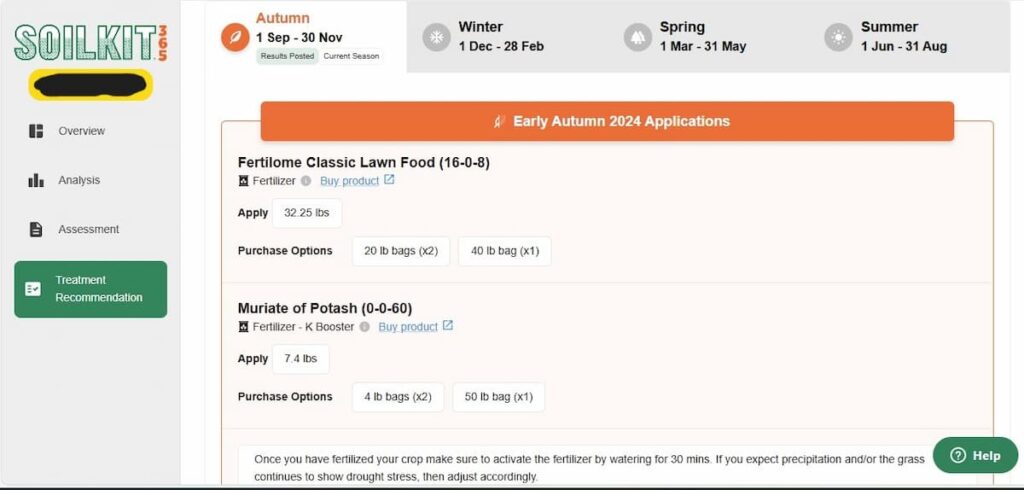
For the price of a cheap date night at Applebee’s and a short trip to our local post office, we’ve unlocked a world of valuable data about our yard. That information will help us understand what fertilizer and nutrients to add so we can maximize the results on our lawn and in our garden.
We can now buy fertilizer and nutrients at our local garden nursery or home improvement center with confidence. We’ll also have a better idea on how to amend our soil each spring when planting new plants or refreshing our hedges and flower beds.
One of the keys to success in gardening is knowledge. And using mail-in soil test kits can help you gain a much better understanding about the health and wellness of your yard.
